The XeroLinux Distro
Before we begin, I would like to tell everyone of you who has supported the XeroLinux project by either getting the ISO or some merch, how much your simple act of kindness means to me. I cannot put it into words. So all am gonna say is God bless you all. I hope your kindness is reciprocated.
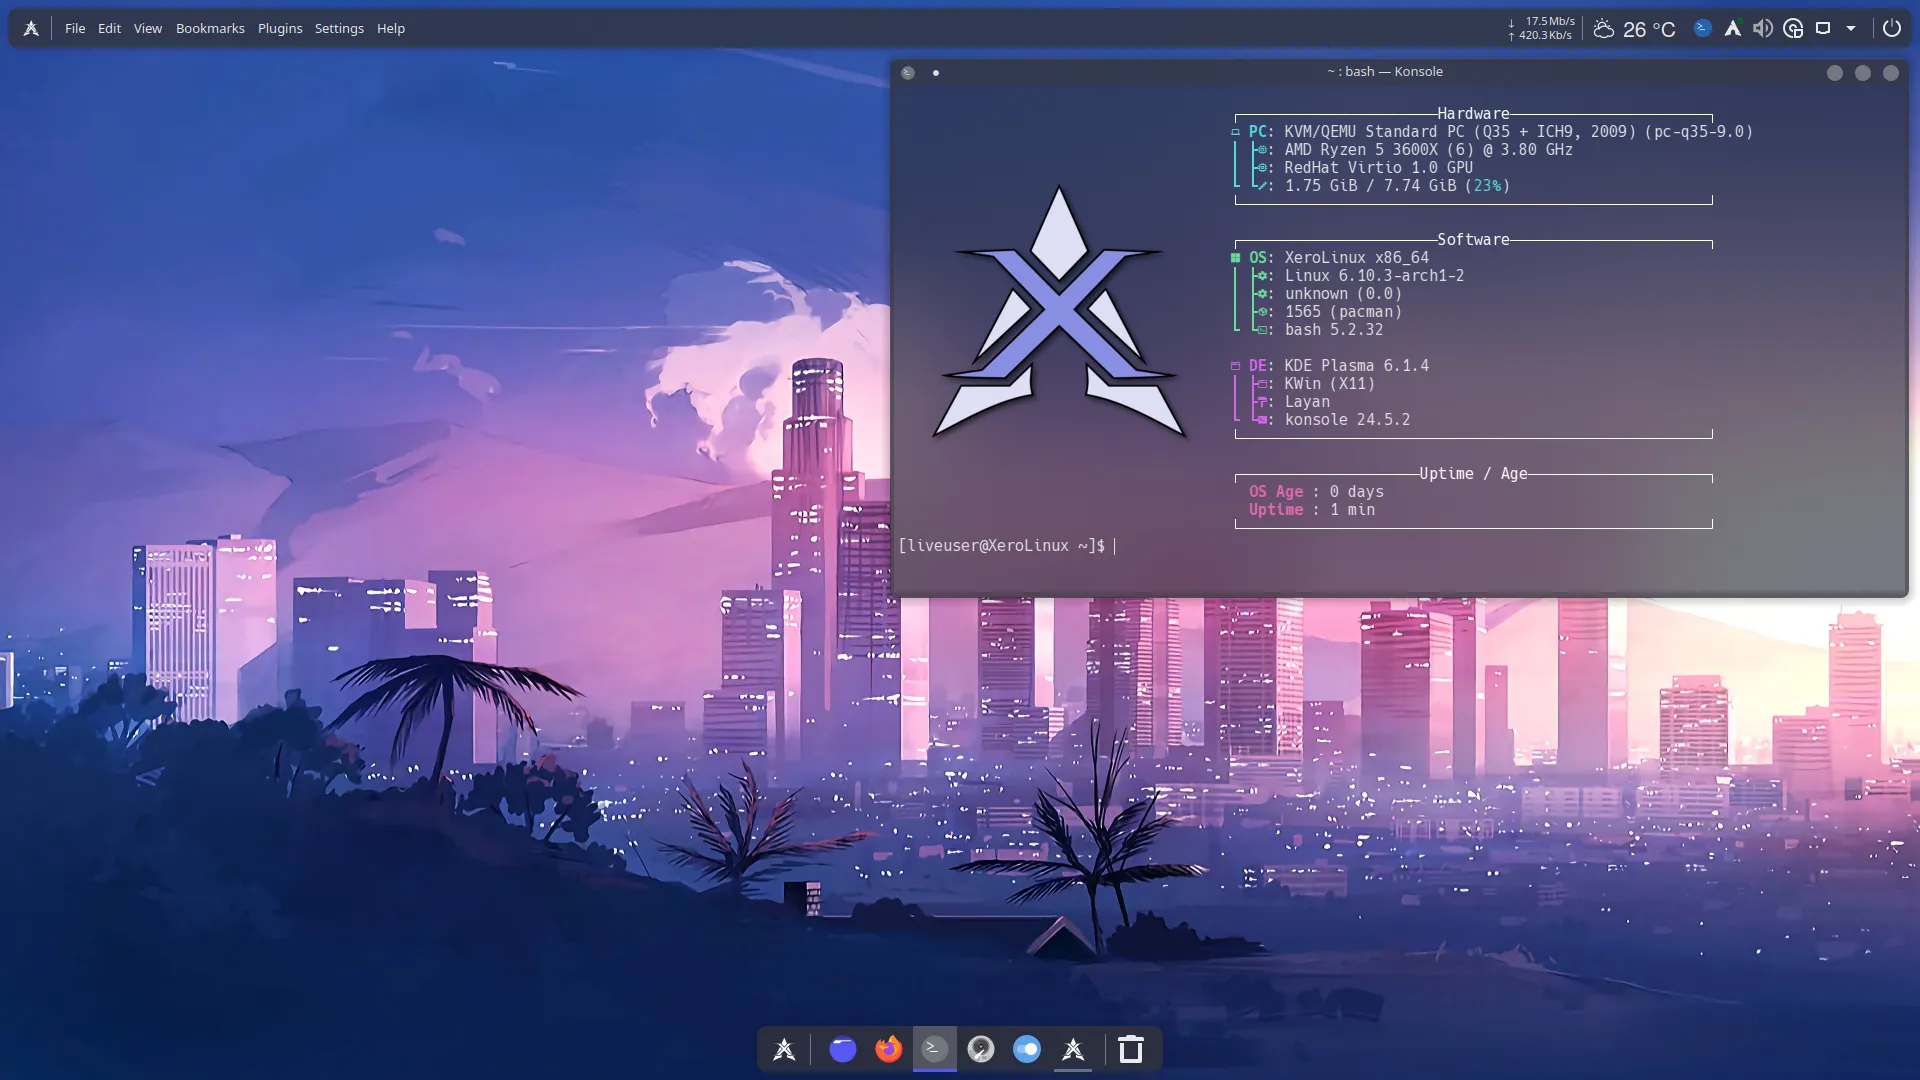
XeroLinux is a KDE Plasma-based Arch Linux distribution focused on aesthetics and usability. For mid-range or higher hardware, it provides a polished out-of-the-box experience. It can run on lower-end systems, but performance may vary.
ISO Variants
Section titled “ISO Variants”XeroLinux ships as two separate ISOs:
- Standard ISO: For Intel and AMD GPU systems
- nVidia ISO: For RTX-series cards using modern open drivers
We split XeroLinux into two ISOs because nVidia retired the old 900 and 1000 series cards from the modern driver lineup. Only RTX cards get the latest open drivers. Instead of forcing everyone into a one-size-fits-nobody installer, the dedicated nVidia ISO is built specifically for RTX users, while the Standard ISO keeps Intel and AMD systems happy. Each ISO does exactly what it’s meant to do, with fewer surprises and better reliability.
We also tried our best to make the nVidia ISO robust by including laptop support and many other optimizations.
GPU Swap Detection
Section titled “GPU Swap Detection”XeroLinux includes a small background service that checks which graphics hardware is inside your computer by reading standard system information. When it notices a change, for example if you install an nVidia card or remove one, it records the change and shows a popup notification in Plasma. Nothing runs unless something actually changes.
When you choose to continue, XeroLinux opens an easy-to-use tool that installs or removes the correct graphics drivers based on your current hardware. The tool updates system components like the boot configuration and kernel modules automatically. Supports Intel, AMD, nVidia, and hybrid setups.
Boot Requirements
Section titled “Boot Requirements”| Requirement | Details |
|---|---|
| Firmware | UEFI & Legacy BIOS/MBR are now supported |
| Boot tool | Ventoy recommended (provides GRUB fallback) |
| Session | Wayland only. X11 has been fully dropped by KDE Plasma but can be enabled via toolkit |

Calamares Installer
Section titled “Calamares Installer”XeroLinux, like many other distros, uses the Calamares installer.
We have been able to re-enable encryption, allowing you to encrypt your drives using luks2. We have also added the ability to update the system during install, so you might notice it taking a little bit longer, depending on how many updates there are at the time of install, their size, and your connection speed. Please be patient while it does that.
Post-Install Setup
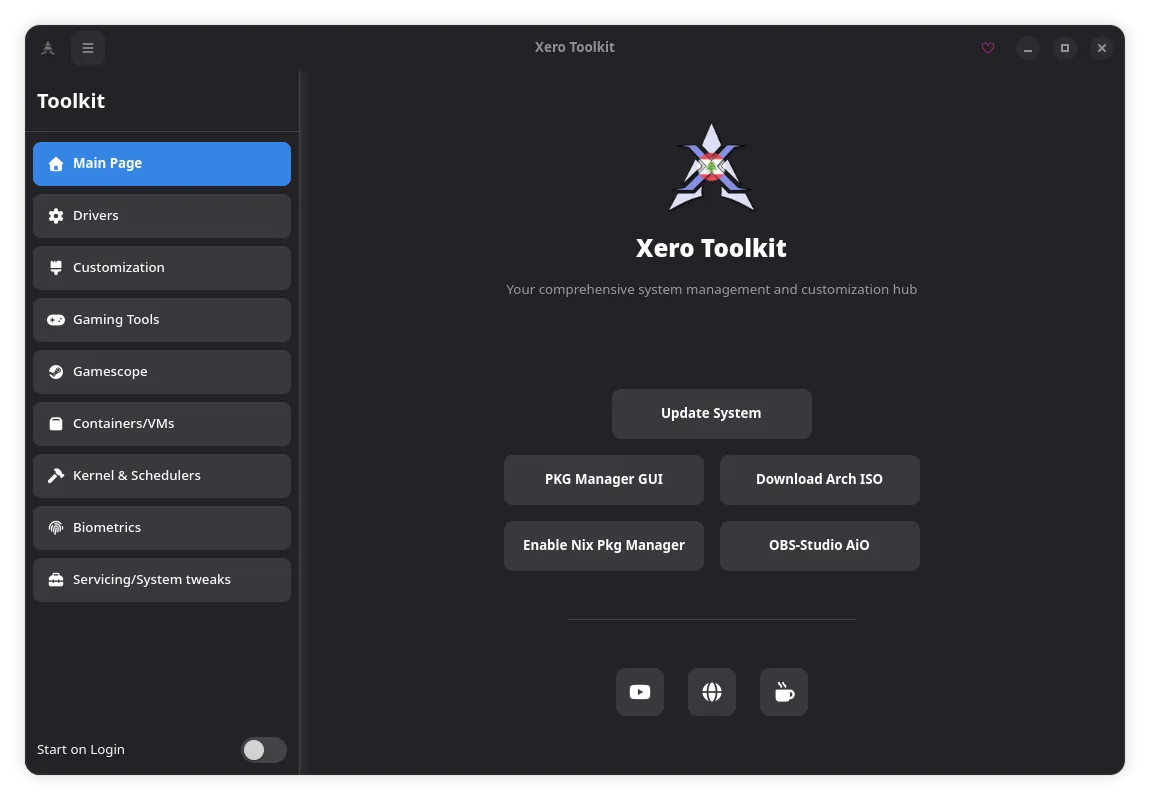
Section titled “Post-Install Setup”XeroLinux Toolkit
Section titled “XeroLinux Toolkit”I highly recommend using the toolkit (the first icon on the dock) to streamline your initial setup experience. It was designed to make the process much smoother and more pleasant. Keep in mind, however, that it’s not meant to handle everything for you, just the essentials.
Toolkit icon disappeared after update ? Run the following command to restore it, then restart shell with rshell:
sed -i.bak \ -e '\|^localPath=/home/|d' \ -e 's|^url=file:///usr/share/applications/xapit-cli.desktop$|url=file:///usr/share/applications/xero-toolkit.desktop|' \ "$HOME/.config/plasma-org.kde.plasma.desktop-appletsrc"Filesystem & Swap
Section titled “Filesystem & Swap”| Feature | Options |
|---|---|
| Filesystems | xfs & ext4 |
| Encryption | LUKS2 |
| Swap | zRAM via zram-generator |
Check zRAM status with zramctl --output-all. See the zram-generator documentation for configuration.
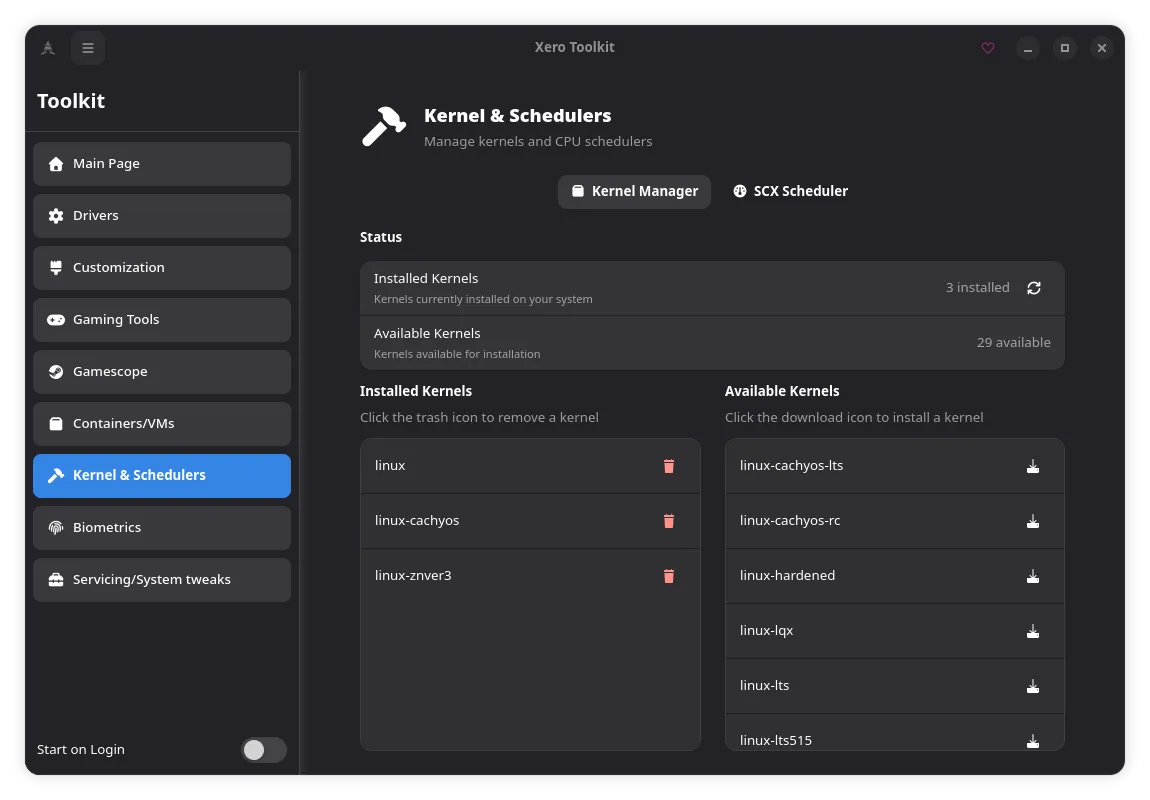
Kernel Manager / SCX
Section titled “Kernel Manager / SCX”The toolkit includes a Kernel Manager and sched-ext tool for kernel tuning.
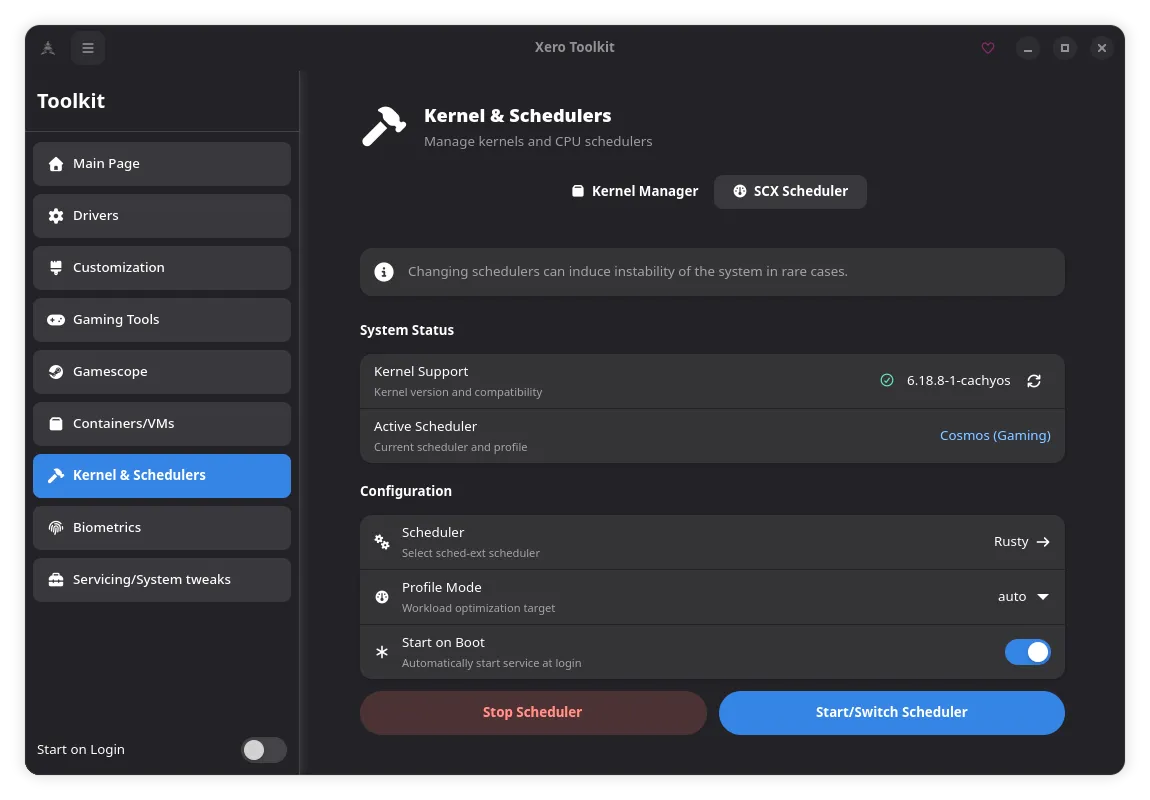
The Schedulers
Section titled “The Schedulers”These schedulers are part of the sched-ext (scx) framework, a Linux kernel feature that allows CPU schedulers to be implemented in BPF and loaded dynamically without recompiling the kernel. All schedulers listed here are multipurpose to varying degrees. The best way to find what works for your system is to try them yourself.
BPFLAND
Section titled “BPFLAND”A vruntime-based scheduler that prioritizes interactive workloads. It identifies interactive tasks by how frequently they block (many voluntary context switches per second) and prioritizes them accordingly. When deciding which cores to assign tasks to, it takes cache layout into account, preferring cores that share the same L2/L3 cache, which reduces cache misses and improves overall performance. It excels under heavy load, provides strong FPS stability in gaming, and supports hybrid CPU topologies (efficiency and performance cores).
Supported profiles: auto, gaming, lowlatency, powersave
Designed primarily for gaming and latency-sensitive workloads. It calculates a “latency criticality” score per task based on wake frequency, wait frequency, and average runtime, then assigns virtual deadlines accordingly to minimize latency spikes while maintaining good overall throughput. A standout feature is Core Compaction: when CPU utilization is below 50%, active cores run longer at higher frequency while idle cores are kept in a deep sleep state (C-state), resulting in meaningful power savings. It also includes an Autopilot mode that automatically adjusts its power profile (Performance, Balanced, Powersave) based on system load or energy preference (EPP).
Originally developed for the Steam Deck and handheld devices, but works well on desktops too.
Supported profiles: auto, gaming, lowlatency, powersave
A load-balancing focused scheduler. CPUs are grouped into scheduling domains based on their Last-Level Cache (LLC), and tasks are kept within their original domain whenever possible to take advantage of data locality. It is highly tunable, offering a wide range of flags to customize behavior. Includes an Autopower mode that selects a power profile (Powersave, Balanced, Performance) based on the system’s EPP (Energy Performance Preference). Well suited for general desktop and server workloads.
Supported profiles: auto, gaming, lowlatency, powersave (flags-based, less opinionated than BPFLAND/LAVD)
RUSTLAND
Section titled “RUSTLAND”The userspace predecessor to BPFLAND, written by the same author. The scheduling algorithm is largely similar, but the decision-making runs in userspace rather than in BPF. This makes it more readable and easier to understand how the scheduler works internally, but comes with a slight throughput disadvantage compared to its BPF counterpart due to the overhead of crossing the kernel/userspace boundary.
Best for: Learning, experimentation, or systems where understanding scheduler behavior is more important than raw throughput.
Focuses on fairness among tasks and performance predictability rather than prioritizing interactive tasks above others. Introduced as a replacement for the lowlatency mode in BPFLAND. Aims to keep latency low for soft real-time workloads like audio processing and multimedia at the cost of some throughput.
Best for: Audio production, multimedia, and workloads that need consistent, predictable latency.
LAYERED
Section titled “LAYERED”A highly configurable scheduler that lets you classify tasks into named “layers” (similar to cgroups) and apply a different scheduling policy to each layer independently. Suited for power users and advanced setups where you need fine-grained control over how different types of workloads are handled simultaneously.
Best for: Complex workload isolation, server environments, and users who want deep customization.
COSMOS
Section titled “COSMOS”A lightweight scheduler optimized for preserving task-to-CPU locality. Keeps tasks running on the same CPU as much as possible to maintain cache warmth and reduce migration overhead. Good for scalable, general-purpose use.
Best for: General desktop use and server workloads where cache locality matters.
SIMPLE
Section titled “SIMPLE”A minimal reference scheduler included mainly as a documentation and learning tool. It prioritizes keeping tasks on the same CPU for cache locality and uses local per-CPU runqueues when the system is not saturated. Not intended for production use.
Best for: Understanding how sched-ext works at a basic level.
Profile Definitions
Section titled “Profile Definitions”Profiles are presets that adjust scheduler flags to optimize behavior for specific use cases. They are not available on all schedulers. Currently BPFLAND and LAVD have the most complete profile support.
| Profile | Description |
|---|---|
| Auto | Default behavior; the scheduler decides based on current system conditions |
| Gaming | Prioritizes low latency and FPS stability; pushes performance headroom |
| Low Latency | Minimizes scheduling latency; suited for audio, streaming, real-time tasks |
| Powersave | Reduces CPU activity and frequency to conserve energy |
Troubleshooting
Section titled “Troubleshooting”No WiFi
Section titled “No WiFi”No WiFi after install ? Connect via ethernet or chroot Guide from any Live ISO and install this missing package :
sudo pacman -Syy linux-firmware-intelGTK No Menu
Section titled “GTK No Menu”Some GTK apps (e.g. Virt-Manager) don’t display menus in the Global Menu widget. Setting DBus environment variables before launch fixes this.
Quick Test
export $(dbus-launch) && virt-managerPermanent Fix (Wrapper Script)
But let’s be real, we don’t want to open a terminal every time we use KVM. So, let’s create a simple wrapper script.
Create a new script file:
sudo nano /usr/local/bin/kvm_wrapperAdd the following lines to the script:
#!/bin/shexport $(dbus-launch)virt-manager "$@"Make the script executable:
sudo chmod +x /usr/local/bin/kvm_wrapperThen update the app’s menu entry via Right-click → Edit Applications, replacing the command with /usr/local/bin/kvm_wrapper.
Replace kvm with any other affected GTK app as needed.
Support
Section titled “Support”If you encounter any issues or have questions directly related to the installation, feel free to reach out on Fosstodon or Discord. Please do not ask on Ko-Fi.

However, if your questions are related to your specific hardware, I may not have the answers you’re looking for, as my knowledge is limited to what works on my own systems. For hardware-specific queries, your best resources are the ArchWiki or community Discord.
That’s it, there ain’t much to it. The rest is in your hands now. Dive into the toolkit, poke around, and see if there’s anything that catches your fancy.